Setting Up DokuWiki on FreeBSD
Motivation
I think we all have some notes that we take from time to time.
For the most part, a simple text document is all we need - for the most part.
But, sometimes one wants a little more. After all, searching a huge text file is not the most pleasent thing ever, especially when the thing hits 1000 lines or more.
So, to me it makes sense to host a small wiki instance at home in the lab just for writing all those things down.
Let’s get right into it by self hosting DokuWiki.
Homepage of DokuWiki: https://www.dokuwiki.org/dokuwiki
(Take a look at it’s features there and you can also gather some good information on the site)
What do you need
You need a FreeBSD (FreeBSD 14.3 amd64) install somewhere which we can use to harbor DokuWiki.
There are no big requirements except a webserver, PHP and a little time to set it all up.
You can of course leverage Jails or a Bhyve VM if you like to - that is up to the user of this guide.
Installing the needed packages
First we need to install all the necessary software to host our wiki.
Given that FreeBSD ships DokuWiki, Apache and PHP packages we can simply leverage pkg to quickly get up to speed.
$ sudo pkg install dokuwiki-php84-20250514a apache24 mod_php84
Hint: DokuWiki is currently available in different PHP versions. I selected the newest PHP incarnation here - YMMV
After the installation, let’s activate the needed services (Apache, PHP-FPM)
$ sudo sysrc apache24_enable=YES
$ sudo sysrc php_fpm_enable=YES
We will start the given services later. For now we make our way over to configuring.
Configure all the things!
We start by configuring PHP-FPM under Apache.
Fire up your editor of choice and create /usr/local/etc/apache24/Includes/php.conf with the following content
<FilesMatch "\.php$">
    SetHandler  "proxy:fcgi://localhost:9000"
</FilesMatch>
This will tell Apache how to handle PHP scripts. Hint: You can do this on a per VHost basis. In my case here I will activate it globally. Again, YMMV
Now we edit /usr/local/etc/apache24/httpd.conf to load the needed modules while also setting up VHost support (Or to be precise, a Include which makes our life a little easier)
LoadModule proxy_module libexec/apache24/mod_proxy.so
...
LoadModule proxy_fcgi_module libexec/apache24/mod_proxy_fcgi.so
...
LoadModule php_module         libexec/apache24/libphp.so
...
# Include VHosts
Include etc/apache24/sites/*.conf
Make sure to uncomment the above listed modules and to add the final Include!
Since we include our VHost configs from sites/ we need to make sure the directory actually exists.
$ sudo mkdir /usr/local/etc/apache24/sites
Perfect! So far so good. Let’s head on to create the VHost site for our wiki.
VHost fun
Create the file wiki.conf under /usr/local/etc/apache24/sites/ and paste in the following contents
<VirtualHost *:80>
        ServerAdmin x@seven.lan

        DocumentRoot "/usr/local/www/dokuwiki"

        <Directory "/usr/local/www/dokuwiki">
                DirectoryIndex index.php
                AllowOverride All
                Require all granted
        </Directory>

        ServerName wiki.seven.lan
</VirtualHost>
Important: Make sure you change ServerAdmin and ServerName to your own needs! This is merely a example that I’ve used in setting up everything. You for sure want to have another ServerName at the very least.
A short note on DNS
As you could tell from the VHost config above, the VHost looks for ‘wiki.seven.lan’.
That of course needs to be changed by you!
If you leverage Bind for example you can add a A Record to make this all work.
(Of course, you can also use a CNAME entry)
wiki IN A 10.0.5.50
Or, you might want to just do a quick and dirty edit in the /etc/hosts file
10.0.5.50 wiki.seven.lan wiki
This is up to you - chose what you prefer!
Permissions are fun
Before we start Apache and the PHP-FPM service we need to fix the permissions, file permissions, of our DokuWiki installation directory.
Simply do the following:
$ cd /usr/local/www/dokuwiki
§ sudo chown -R www:www .
Easy. Let’s head over to the next step.
Starting all the services!
Ready, set, go!
$ sudo service php_fpm start
$ sudo service apache24 start
Apache and PHP are started and running, so far so good.
Webbrowser time
(The next steps assume that you’ve set up a DNS Record or a hosts entry!)
In this case I will leverage Firefox to navigate to our newly installed wiki.
$ firefox http://wiki.seven.lan
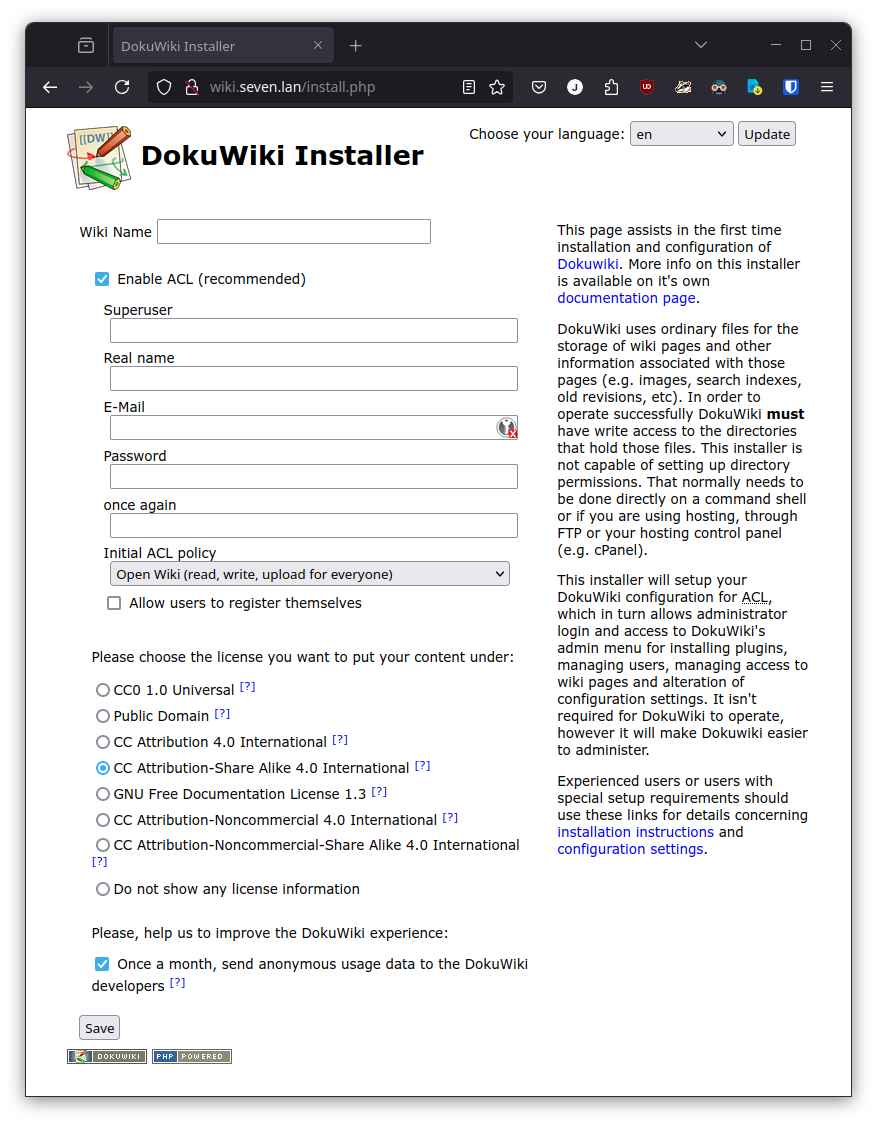 Yes, our wiki is alive!
All you need to do here is to create a Admin user and chose the license of your choice.
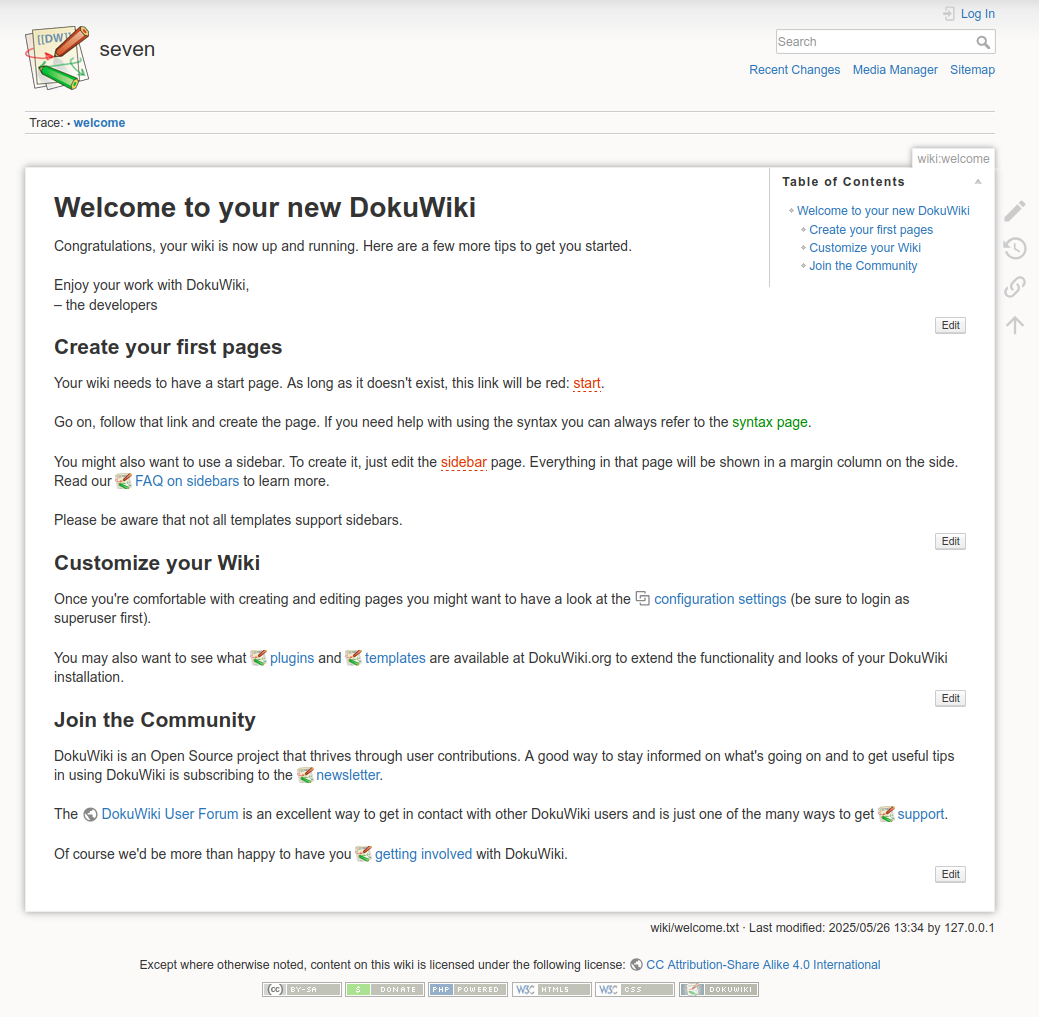
After all of that is done you will be greated with the starting page of DokuWiki.
Closing words
Was that it?!
Yes, you can now customize the wiki to your needs and do whatever your heart feels like.
All in all, DokuWiki is a very viable solution which is also easy to handle.
That’s it. Have fun everyone!