OpenBSD on the Yoga 260
A new (used) Laptop emerges
I’ve lately found a nice deal while browsing eBay on a ThinkPad Yoga 260 which I could not resist. (This is the problem with eBay in general… well, it is what it is)
Bought it and was quickly shipped to my in a couple of days.
Well… This could have been another Linux box to take with me, given it’s compact form factor… but, where is the fun in that?
Besides, I do not currently run any BSD on a mobile device.
So, long story short, let’s install a BSD onto it!
At first I was not sure which one to pick. This was quickly sorted out by asking the lovely community over at the bsd.cafe Mastodon instance.
In this very case, OpenBSD won hands down.
All that is left to do now is to prepare a USB installer and then it is off to the races.
Preparing the USB stick
This should be familiar to any BSD or Linux user.
I leveraged cp to copy the image over to the USB stick and that’s it.
Be aware to download the right image!
Remember: The install75.img is what you want (Image)
Nothing more than the following command:
$ sudo cp -v install75.img /dev/sdXY
Alright, ready for the next step.
Preparing the BIOS (UEFI)
I did nothing special here except enabling VT-x/VT-d and checking that secure boot was disabled.
Smooth sailing. Over to the next step.
Installing OpenBSD
Quickly inserted the USB stick and entered the boot menu via F12. My USB was detected and I selected to boot from it.
After a moment the OpenBSD bootloader came up and started the boot process.
I could bore you with any step that I took from here on out and show some fancy screenshots about each time I pressed enter… but we won’t do that.
Instead, a short summary:
- Selected the keyboard
- Configured the network (Used a USB to ethernet adapter which work fine)
- Partitioned the drive (SSD) with a simple root/swap layout
- Install the sets from http
- OpenBSD installed firmware, relinked and it was reboot time
All in all: No issues at all, worked perfectly fine!
Afterboot (Setup)
After the installation finished I rebooted the system and seconds later was greeted with the login prompt (Console).
I did SSH into the machine from my desktop and went to work.
The first order of business was applying errata patches.
(root)$ syspatch
Rebooted the system again and the show continued from there.
Next on the agenda was installing my beloved Xfce desktop environment.
(root)$ pkg_add -vi xfce xfce-extras
There are a couple of daemons that we need to start in order for everything to work.
(root)$ rcctl enable apmd
(root)$ rcctl enable messagebus
Note: You do not strictly need apmd - I use it since this is a laptop.
Alright, so far so good. Time to setup doas - which is trivial.
(root)$ echo "permit keepenv persist USER" > /etc/doas.conf
Be sure to change USER to your actual user name.
Almost done with the basic setup. To be able to start Xfce via startx from the console we need to setup the users .xinitrc file.
echo "exec startxfce4" > ~/.xinitrc
With this all set and done I usually do a reboot just for good measure.
$ doas reboot
Testing Xfce
After the machine came up again I logged into the system and issued the startx command.
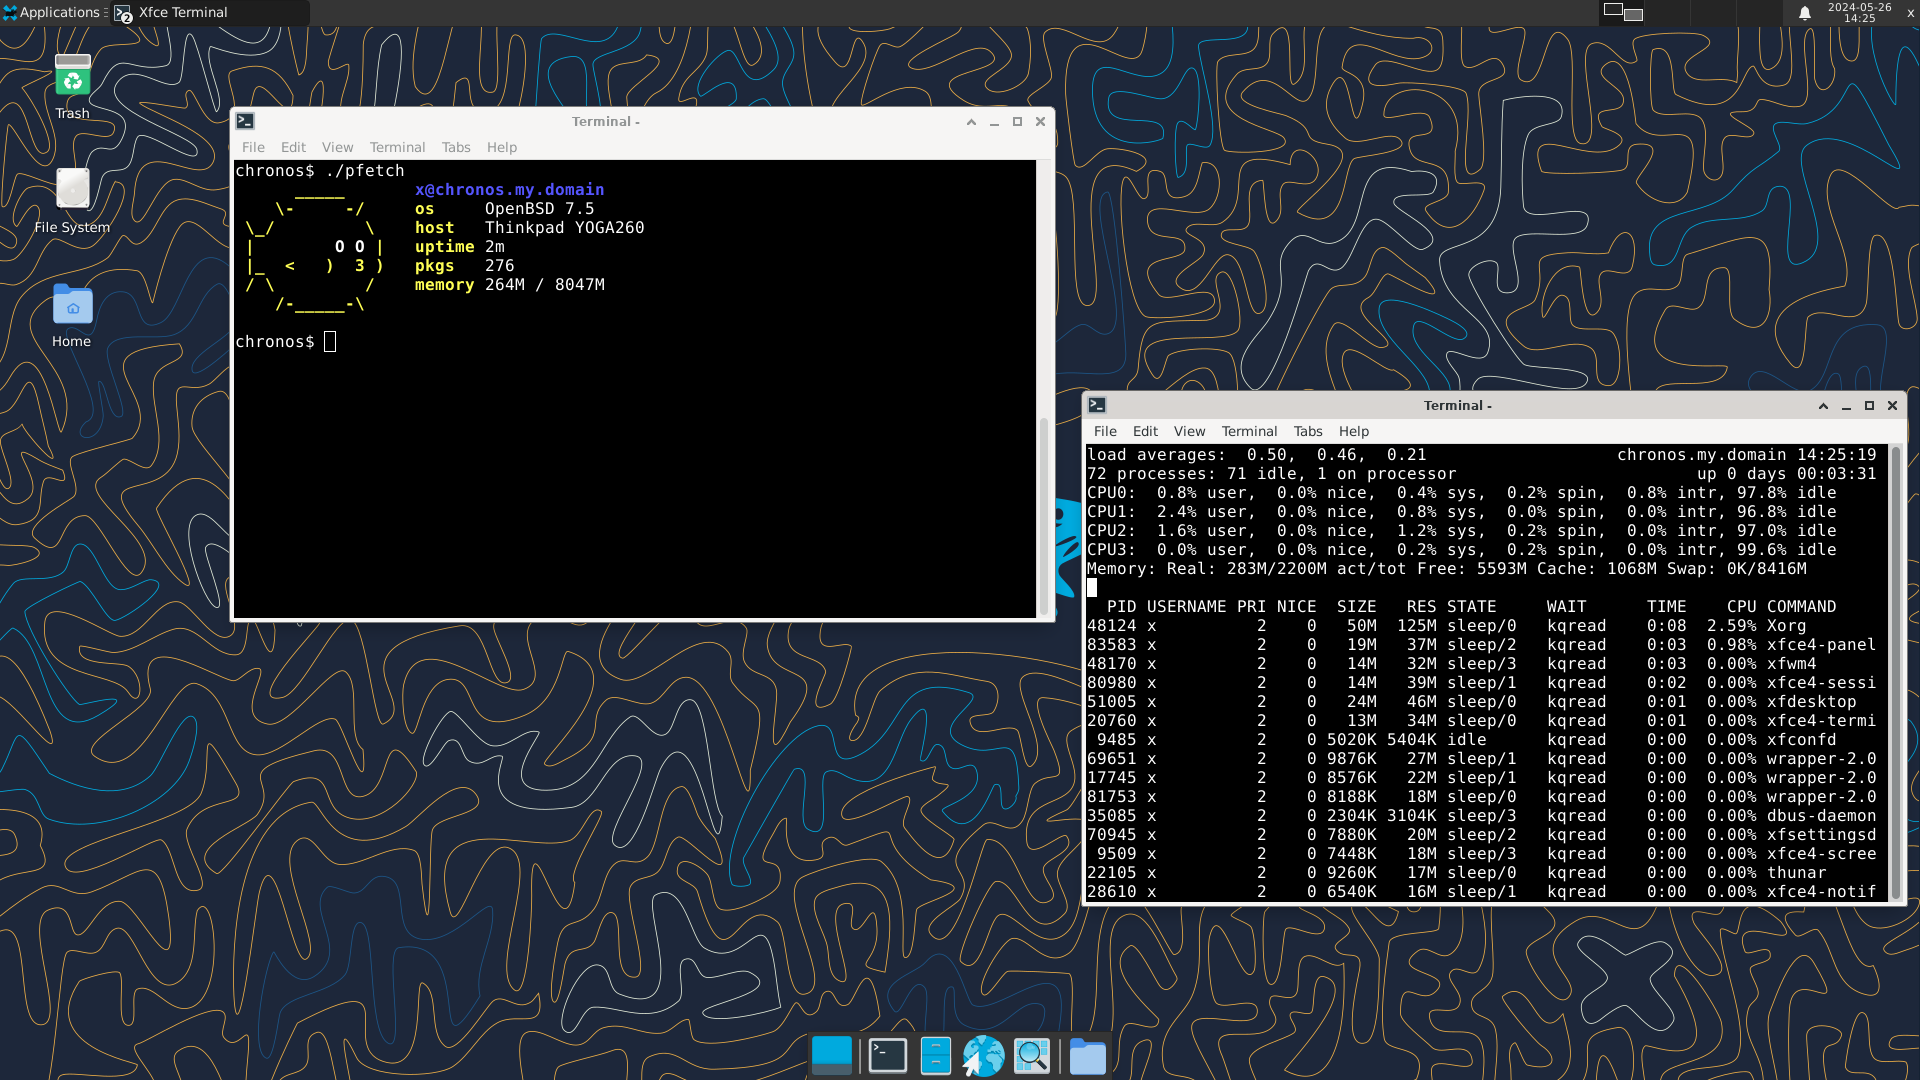
And behold, Xfce in all it’s glory - freshly installed.

The fetch tool shown on the screenshot is pfetch.
Everything is looking good.
Probing the hardware
I was not able to find much info about this system online in regard to any BSD system.
So the next step on the list was to gather some info about the hardware and also upload this information for anyone to see.
This can easily be done with the excellent hw-probe tool - which is available in the OpenBSD repository.
Installing it is simple.
$ doas pkg_add hw-probe
After installing the package and needed dependencies, we can run it.
$ doas hw-probe -all -upload
As soon as the tool is finished doing it’s tasks you will receive a URL which points to the info collected from the given system.
You can find the entry about this system under the following link:
https://bsd-hardware.info/?probe=e49d3164c9
Final tests
One thing left to do for me was to try out suspend/resume.
In Xfce you can trigger a suspend directly over the logout menu - which I did.
After a couple of seconds the system suspended, so far so good.
I waited until the LED light on the ThinkPad stopped and tried my luck reviving the machine…
And… It worked perfectly!
So we can also scratch that off the list. Suspend and resume works just fine.
Last words
I hope that maybe someone with the same device as I have here finds this article helpful and also installs OpenBSD onto it.
The system for me is a lightweight machine that I can easily take with around the house and garden should the need arise.
I know that I did not test everything on my first run - that will follow as I use the device more and more. But the target for now was setting up the machine so as to make sure everything that I need works. And that is in fact the case.
This closes the article for now.
I might follow up on the system when there is something interesting to write about.
So, last but not least…
Stay Open!