Minecraft Server via Docker
Most of us enjoy playing games - For the most part.
Sometimes having a dedicated game server is a really cool thing.
So let’s host a vanilla Minecraft server via Docker and have some fun!
Getting Docker
There are two ways in which one can deploy Docker. Option number one is to get it directly from the official Docker repo for Debian/Ubuntu (Or other distros). There is nothing against going that route. I just personally prefer to use the version of Docker already shipped in the Debian repos.
Installing Docker and all the needed tools is simply done via apt in my case.
$ sudo apt install docker.io docker-compose
NOTE: We are going to use a compose file to set up the container - That is why we need the compose plugin.
You now have Docker installed - so far so good!
To being able to use Docker I’d strongly suggest you create a dedicated user and add it to the docker group.
This is not needed in general - but I like to run containers under a unprivileged user if I can (YMMV).
Whatever you decide on, you need to add the user in question to the docker group.
$ sudo gpasswd -a $USER docker
NOTE: Be sure to logout and back in if the user in question is the same you use currently for the group membership to take effect!
Preparing the compose file
Deploying a Minecraft server is quite simple. First we need to create a compose file and alter it’s contents to our needs.
This is the compose file I currently use on my own server in my homelab.
services:
  mc:
    image: itzg/minecraft-server:latest
    container_name: seven-minecraft
    tty: true
    stdin_open: true
    ports:
      - "25565:25565"
    environment:
      UID: 2000
      GID: 2000
      EULA: "TRUE"
      TYPE: "VANILLA"
      MOTD: "Seven Minecraft Server"
      MODE: "survival"
      MEMORY: "4G"
      MAX_PLAYERS: 2
      TZ: "Europe/Berlin"
    volumes:
      - /srv/minecraft:/data
    networks:
      - minecraft_net

networks:
  minecraft_net:
    name: vbr0
    external: true
SETTINGS:
- image: The used Minecraft container image itself (Latest Tag)
- container_name: Chose a name that makes sense for your container
- UID: The UID of my user
- GID: The GID of my user
- EULA: Set this to TRUE to accept the EULA
- TYPE: The type of server you want. I go with the default Vanilla server
- MOTD: Message of the day
- MODE: Set the desired mode
- MEMORY: I limit this to 4GB - Change this to your needs
- MAX_PLAYERS: Set the desired number of players you want on the server
- TZ: Set your timezone here
Volumes designate where the data of the container is stored. I use /srv usually for all my containers. Make sure you set this to the location you desire.
Also, the network settings need to be altered to what you acutally want/need - Don’t blindly copy everything from the example!
All set and done, let’s fire up the container in the next step.
Running the container
Since we now have docker installed and ready to use it is time to start the container.
$ sudo -u service docker-compose up -d
Or if you don’t want to run as another user
$ docker-compose up -d
Docker will now pull all the images and create the container we’ve just asked it to build.
True magic!
Pulling mc (itzg/minecraft-server:latest)...
latest: Pulling from itzg/minecraft-server
de44b265507a: Pull complete
8b2aca828e42: Pull complete
2264d6c2361d: Pull complete
9be197bb0b21: Pull complete
e726bec53c7d: Pull complete
a1f01342faa7: Pull complete
0fac6f48c35d: Pull complete
367cd35835ee: Pull complete
38c7dfdbaa34: Pull complete
4819956c89af: Pull complete
ee3b67e7d595: Pull complete
827d77e27813: Pull complete
e6ac44aa0079: Pull complete
c9c7852e4121: Pull complete
596d5cb122fd: Pull complete
4f4fb700ef54: Pull complete
88481162d768: Pull complete
995a34593bbc: Pull complete
178934f2faf4: Pull complete
4f6689d2b75a: Pull complete
908f839fa87b: Pull complete
41bf705101c0: Pull complete
749d4fc208c3: Pull complete
Digest: sha256:8decd4eea622aa12a5194af5781fff431be22dfb5aa04b05dc4b2be54693594a
Status: Downloaded newer image for itzg/minecraft-server:latest
Creating seven-minecraft ... done
Alright, that is done. Let’s continue to connect to the server.
Minecraft all the way
The only thing left to do is to actually start the Minecraft client and connect to the server.
Start your Minecraft client and go over to multiplayer in the menu.

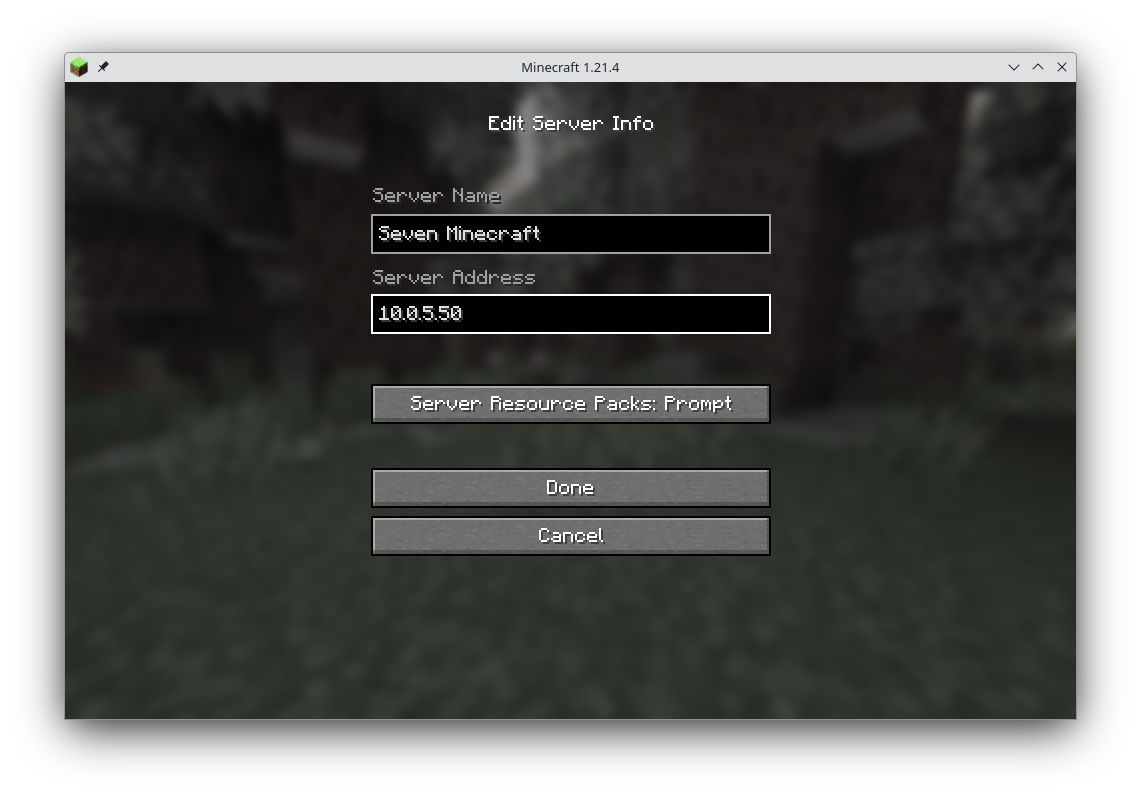
In here you need to set the IP adress or DNS name of your server and a name. In this example I connect over to my Debian mini pc with the IP 10.0.5.50 and I gave it the name of “Seven Minecraft”.
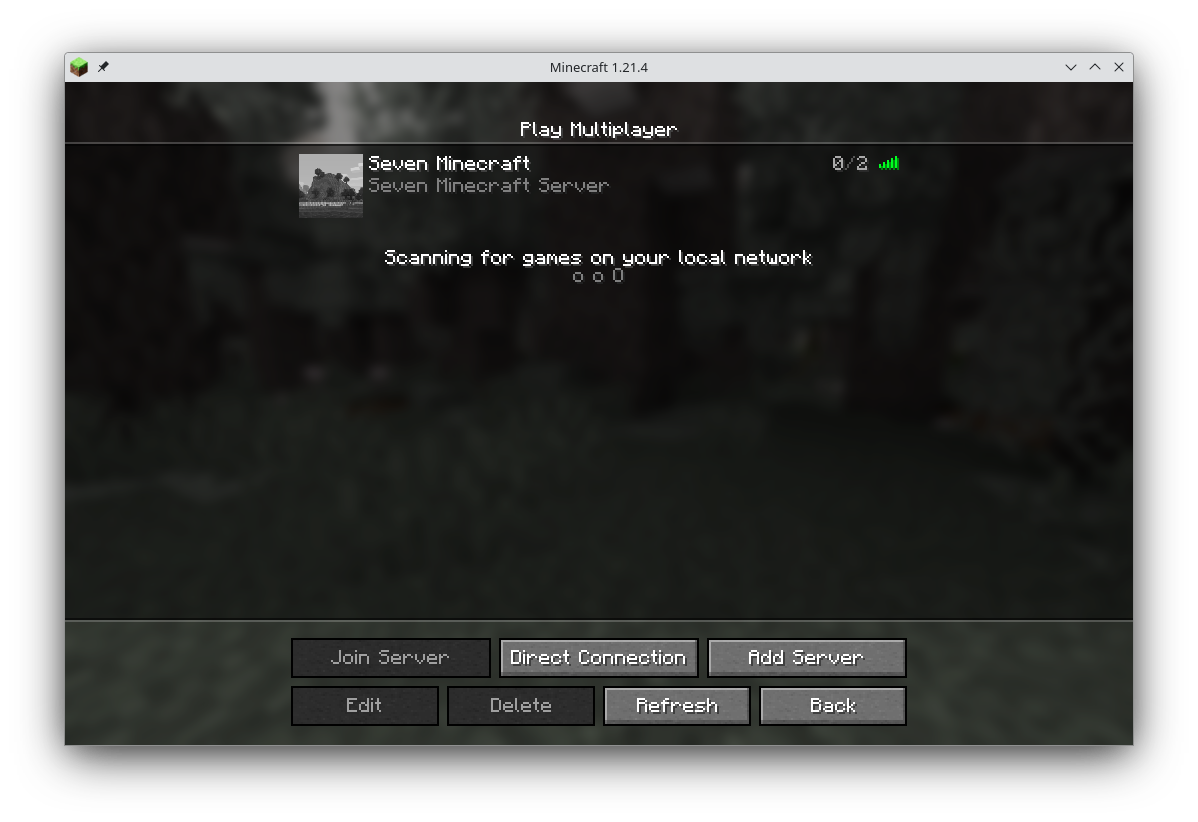
After that is done you can connect to the server in question.

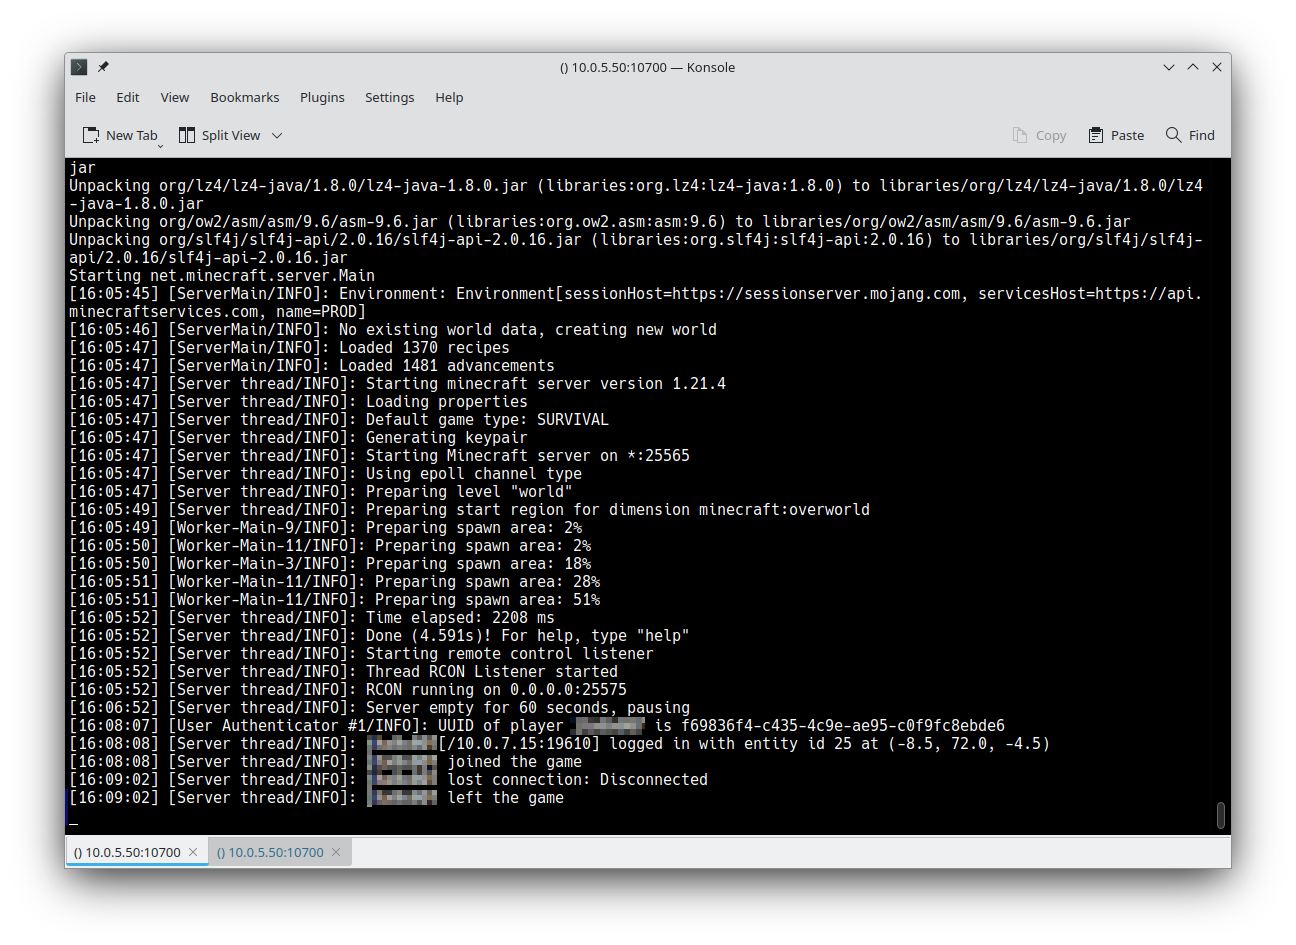
Once you are connected you can check the server logs to verify that all went well - Or if you just want to check out the log the server writes.
$ sudo -u service docker logs seven-minecraft
Or without a specific user
$ docker logs seven-minecraft

You can see my local IP from which I connected to the server. Also, you can spot that I’ve disconnected not soon after.
The logs provide useful information which is a good thing to look at from time to time - also when troubleshooting of course.
The journey begins
I’m not kidding you, this is were all your Minecraft related adventures begin!
You now have a local Minecraft server running under Docker which you can customize and tweak to your needs.
Check out the following resources to learn more:
There are plenty more options and also you can run a different Minecraft server altogether. Check the given sites and have fun playing around.
there is only one more thing to say…
Stay Open!
#Debian #Ubuntu #Minecraft #Docker #Compose #Stack #Server #Gaming