Media Hosting With JD and Jellyfin
Sometimes one wants to download YouTube videos for example in advance to watch them later.
Or maybe you want to preserve a video or collect a series on YouTube?.
Saving many playlists can quickly clutter up ones YouTube site…
So, why not go the route of downloading said videos and serving them locally with Jellyfin?!
This is exactly what we are going to do in this little guide - Leveraging Jellyfin and JDownloader.
So, let’s get started.
Getting Docker
Since we will use containers we need Docker before we go any further.
The instructions differ depending on which Linux Distribution you use.
I use Debian here and recommend you look into your distributions package repo or documentation to install Docker.
On Debian / Ubuntu you have two choices:
Installing Docker from the repositories or from the official external Docker repo.
Installing Docker from the local repo:
$ sudo apt install docker.io docker-compose
Or you install it from the offical external repo (Official Docker repo) via apt.
Docker Dcumentation: https://docs.docker.com/engine/install/
Chose what better fits your use case.
After installing the needed packages you need to add your user to the docker group like so:
$ sudo gpasswd -a $USER docker
The next thing on the list before we go over to actually setting up the containers is to create a bridge network device on Docker.
Hint: You do not need to do this but to use the example compose files documented here you need to have a bridge device created.
Keep that in mind - Alter the compose files to your needs!
Alright, off to the next step.
JDownloader all the way
Create a new folder and in that folder a file named docker-compose.yml.
$ mkdir jdownloader
$ touch jdownloader/docker-compose.yml
After that, open the given compose file in the editor you prefer - I will use vim here.
$ cd jdownloader
$ vim docker-compose.yml
Paste the following content into the file.
---
version: "2.1"
services:
  jd:
    image: jlesage/jdownloader-2
    container_name: seven-jd
    environment:
      - USER_ID=2000
      - GROUP_ID=2000
    volumes:
      - /srv/jdownloader:/config:rw
      - /srv/downloads:/output:rw
    ports:
      - 5800:5800
    restart: always
    networks:
      - jd_net

networks:
  jd_net:
    name: vbr0
    external: true
Hint: Be sure to alter the ID’s given above to the user id your prefer. Also, make note of the port and the /srv/downloads directory for later.
Next up is firing up the container. (Be sure to cd into the directory before!)
$ docker compose up -d
Depending on your internet connection speed this won’t take too long.
After docker compose has done it’s magic make sure to check that the container is acutally running.
You can do so by looking at the running containers via the docker ps command.
[chaos ~/Work/containers/jdownloader] $ docker ps --format '{{.Names}}'
seven-jd
JDownloader itself lives under /srv/jdownloader - You can have a look at the directory to make sure JD is actually correctly installed.
[chaos ~/Work/containers/jdownloader] $ /bin/ls /srv/jdownloader/
total 13996
-rw-r--r-- 1 service service     320 Jan 16 13:44 build.json
drwxr-xr-x 1 service service    8040 Jan 16 14:01 cfg
-rw-r--r-- 1 service service 9209108 Jan 16 13:44 Core.jar
drwxr-xr-x 1 service service      28 Jan 16 13:44 extensions
drwxr-xr-x 1 service service       0 Jan 16 13:44 java
drwxr-xr-x 1 service service      44 Jan 16 13:44 jd
-rw-r--r-- 1 service service       7 Jan 16 13:48 JD2.lock
-rwxr--r-- 1 service service 5033225 Jan 16 13:44 JDownloader.jar
-rw-r--r-- 1 service service       4 Jan 16 13:48 JDownloader.pid
drwxr-xr-x 1 service service    1270 Jan 16 13:44 libs
-rw-r--r-- 1 service service   39624 Jan 16 13:44 license_german.txt
drwxr-xr-x 1 service service    1554 Jan 16 13:44 licenses
-rw-r--r-- 1 service service   32034 Jan 16 13:44 license.txt
drwxr-xr-x 1 service service      10 Jan 16 13:44 log
drwxr-xr-x 1 service service     390 Jan 16 13:48 logs
drwxr-xr-x 1 service service      16 Jan 16 13:44 themes
drwxr-xr-x 1 service service     128 Jan 16 13:59 tmp
drwxr-xr-x 1 service service      22 Jan 16 13:44 translations
drwxr-xr-x 1 service service      22 Jan 16 13:44 update
drwxr-xr-x 1 service service      28 Jan 16 13:44 xdg
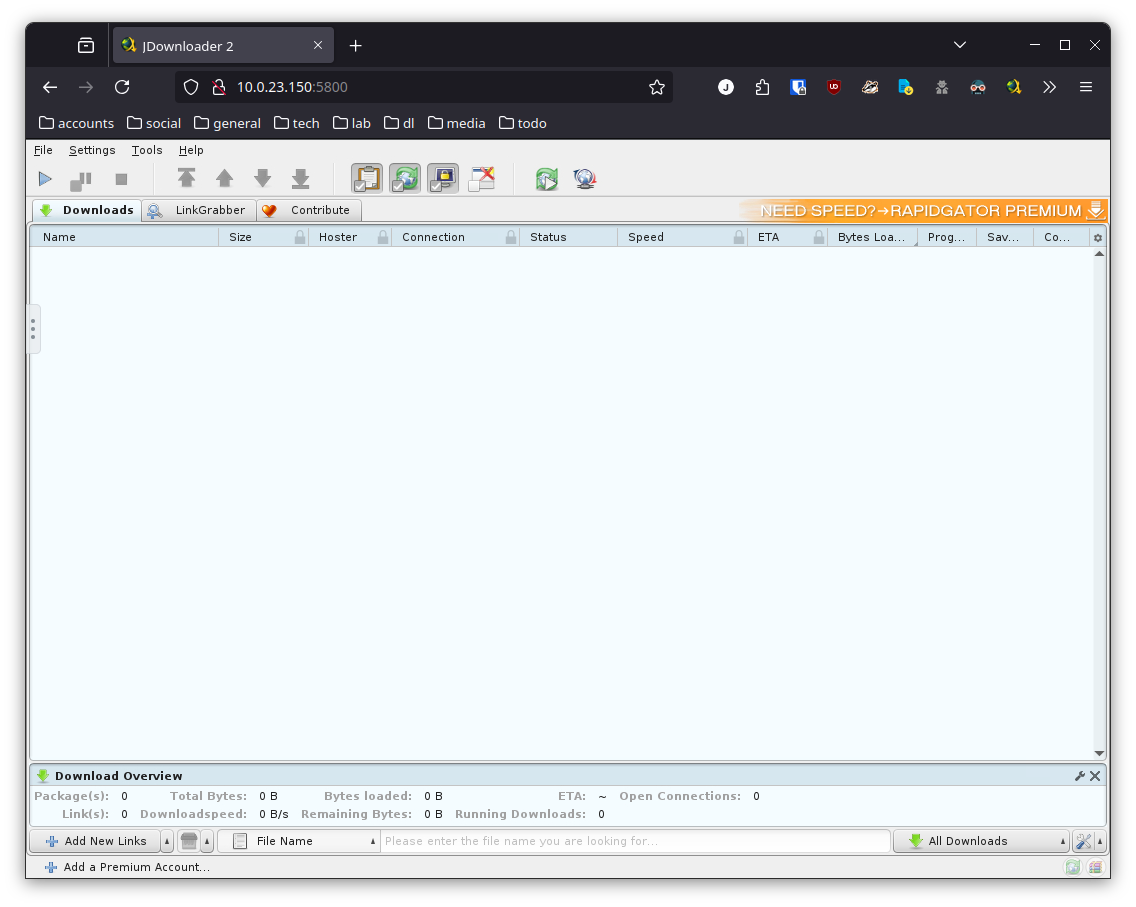
You can reach the JDownloader Webinterface as follows:
$ firefox http://YOUR_IP_ADDR:5800/
Hint: Make sure to use your IP address!
Next on the agenda, Jellyfin.
Media fun with Jellyfin
The first step is creating the directory and the compose file for Jellyfin.
$ mkdir jelllyfin
$ touch jellyfin/docker-compose.yml
Open the compose file with the editor of your liking next and paste the following content into it.
---
services:
  jellyfin:
    image: lscr.io/linuxserver/jellyfin:latest
    container_name: seven-jellyfin
    environment:
      - PUID=2000
      - PGID=2000
      - TZ=Europe/Berlin
    volumes:
      - /srv/jellyfin:/config
      - /srv/downloads:/data/media
    ports:
      - 8096:8096
    networks:
      - jellyfin_net
    restart: always

networks:
  jellyfin_net:
    name: vbr0
    external: true
Hint: Alter the uid’s and make a note of the /srv/downloads directory.
From the previous step you saw that we picked /srv/downloads in our JDownloader compose file. This is now mapped in the Jellyfin container under /data/media (Inside the container).
Now, fire up the container.
$ docker compose up -d
Check to see if Jellyfin is up and running
$ docker ps --format '{{.Names}}'
seven-jellyfin
seven-jd
As you can see both containers are running.
You can also make sure that Jellyfin is installed by looking at the /srv/jellyfin directory.
[chaos ~/Work/containers/jellyfin] $ /bin/ls -l /srv/jellyfin/
total 24
drwxr-xr-x 1 service service   32 Jan 16 14:00 cache
drwxr-xr-x 1 service service   66 Jan 16 13:53 data
-rw-r--r-- 1 service service 2645 Jan 16 13:53 encoding.xml
drwxr-xr-x 1 service service   32 Jan 16 13:53 log
-rw-r--r-- 1 service service 1362 Jan 16 13:53 logging.default.json
-rw-r--r-- 1 service service 3639 Jan 16 13:53 migrations.xml
-rw-r--r-- 1 service service 1081 Jan 16 13:56 network.xml
-rw-r--r-- 1 service service 6753 Jan 16 13:56 system.xml
Access the Jellyfin webinterface like so:
$ firefox http://YOUR_IP_ADDR:8096/
Hint: Make sure to use your IP address!
Alright, with that out of the way we can configure Jellyfin.
Configuring Jellyfin
First, access Jellyfin via your browser of choice.
(Look above for the URL)
We are now presented with the setup wizard.
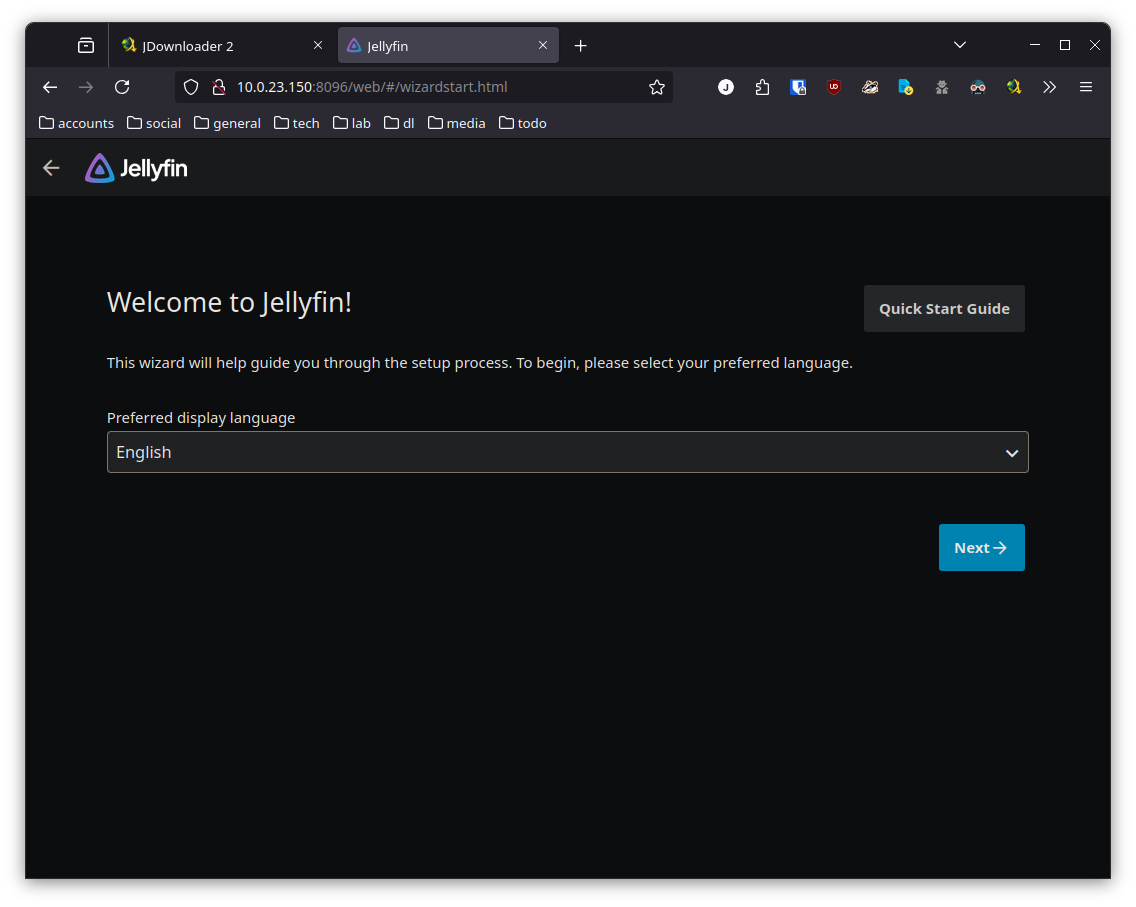
Set up everything to your liking and create a user so you can later login to Jellyfin.
You will now come to the media setup where you have to give Jellyfin a directory which it should scan for media.
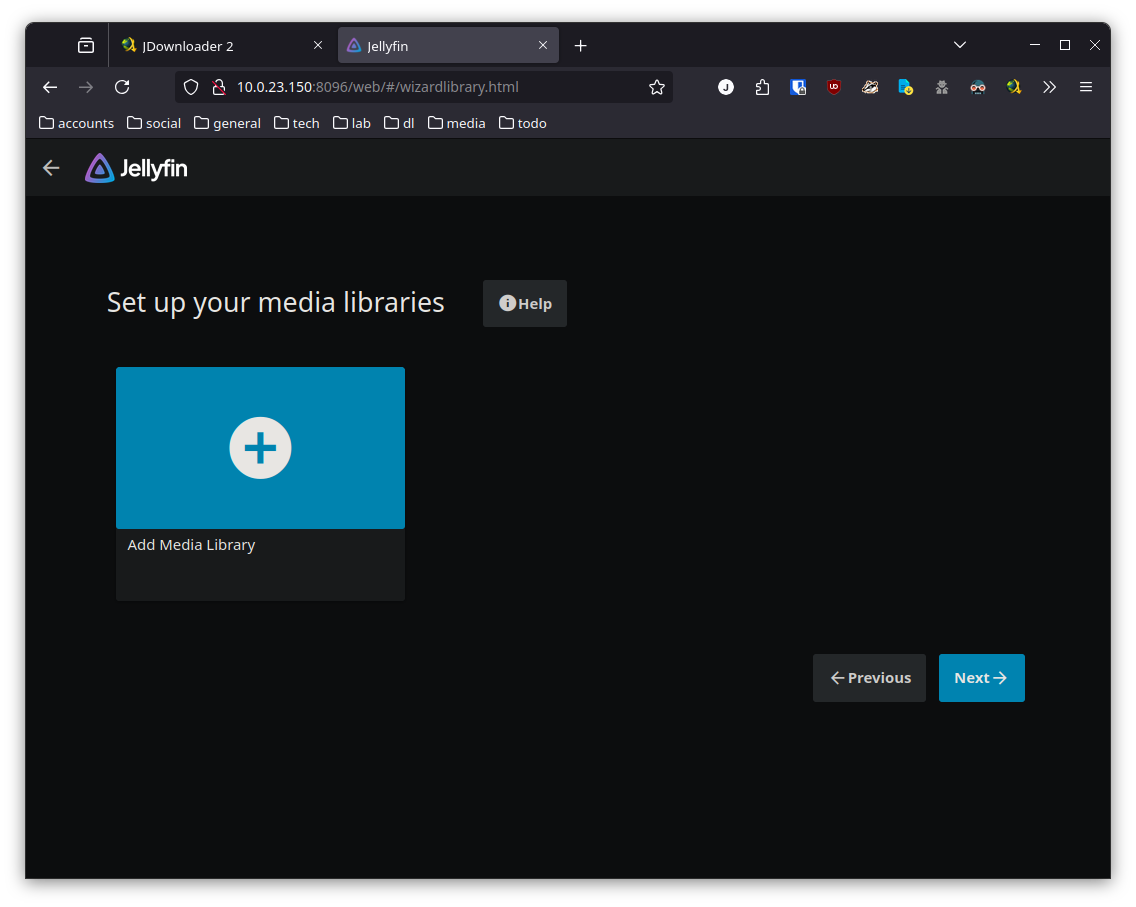
Make sure to select the correct directory which contains your downloaded videos.
In our case case that is /data/media.
That’s it, you now finish the wizard!
Jellyfin is up and running and you can login with your newly created user.
Gimme media!
So, we now have JDownloader and Jellyfin running… good… but what now?
Well, we have to give Jellyfin some media so it can work it’s wonders.
Go over to YouTube and copy the link of a video you would like to download.
Next, paste the link into JDownloader on the link grabber page.
Right click on the page and select “Add New Links”.
Start the download after that.
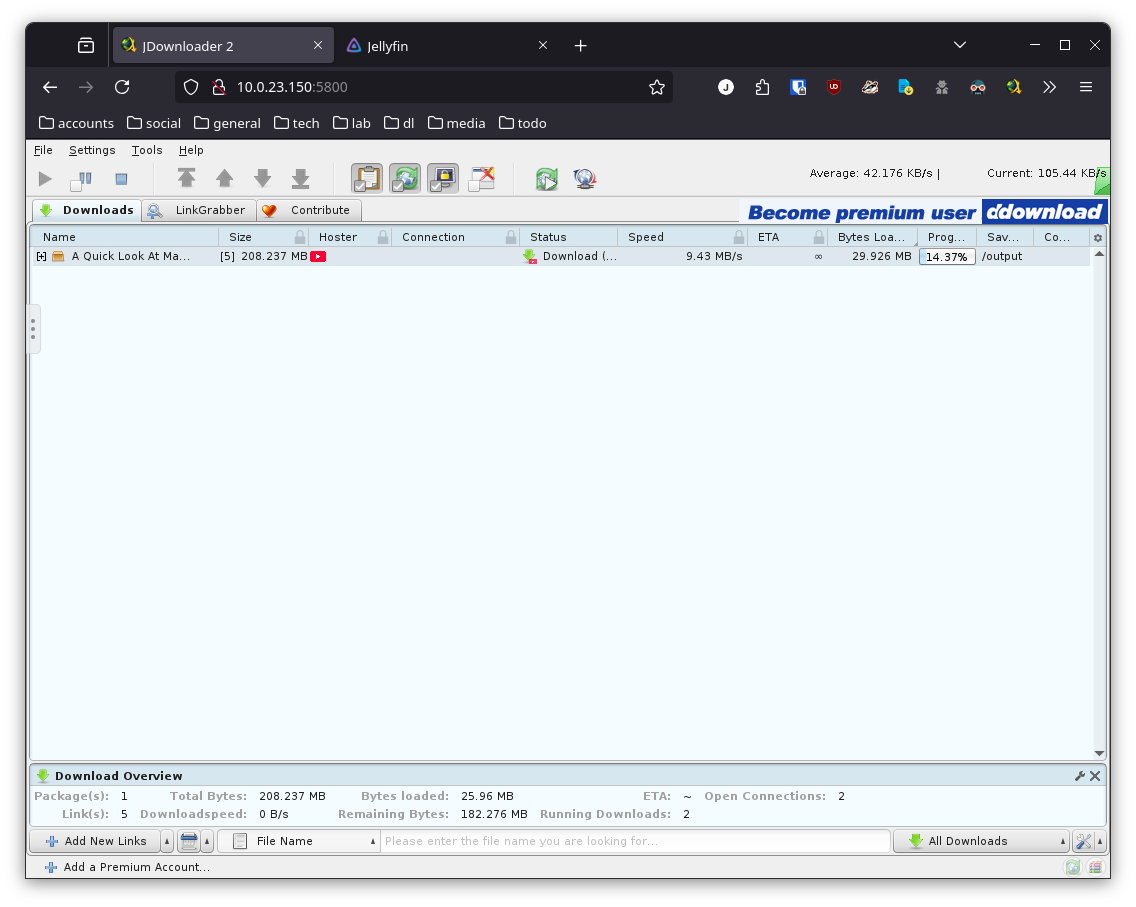
Done. You got your first video downloaded and ready to be viewed with Jellyfin.
Scan for new media
Once you are logged in to Jellyfin you can make it search the media directory for new videos.
Navigate to the Dashboard and simply click the “Scan All Libraries” Button there.
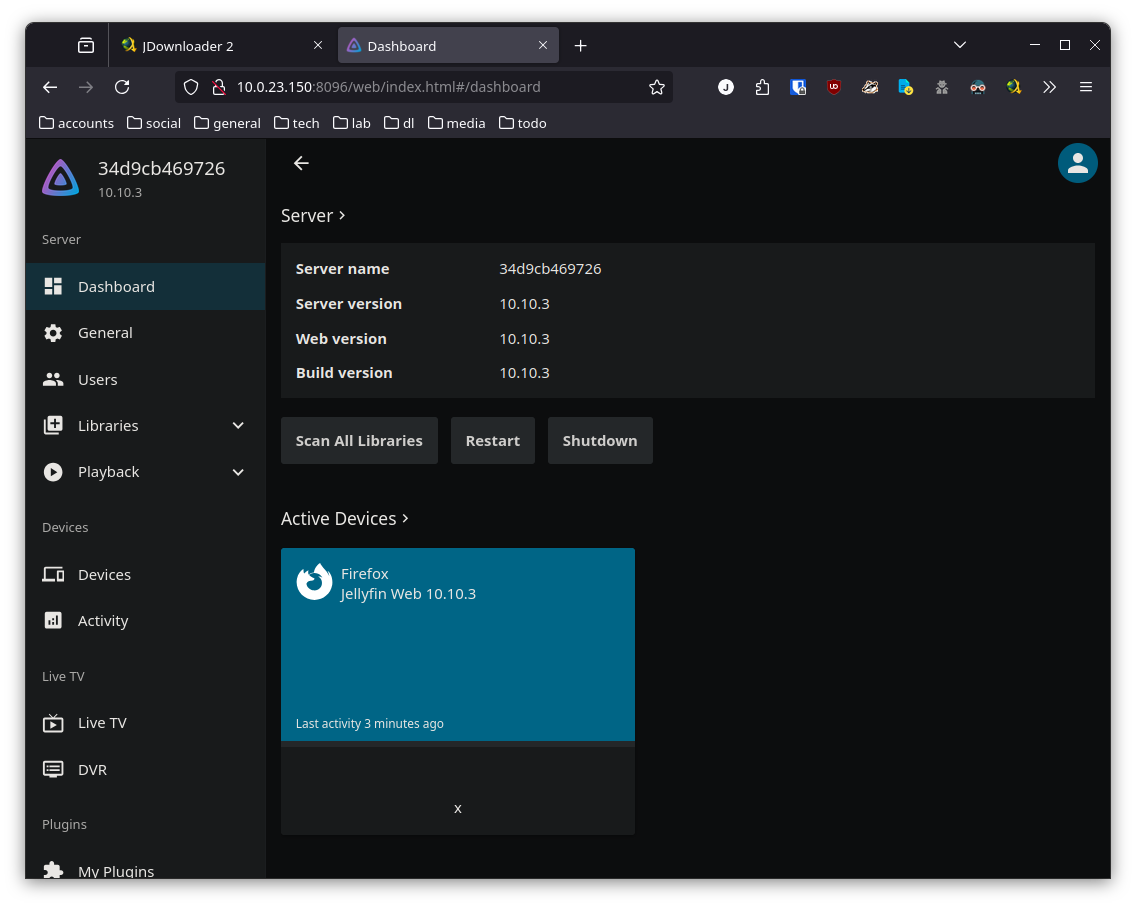
After that you can go back to the landing page.
Aaand there it is!
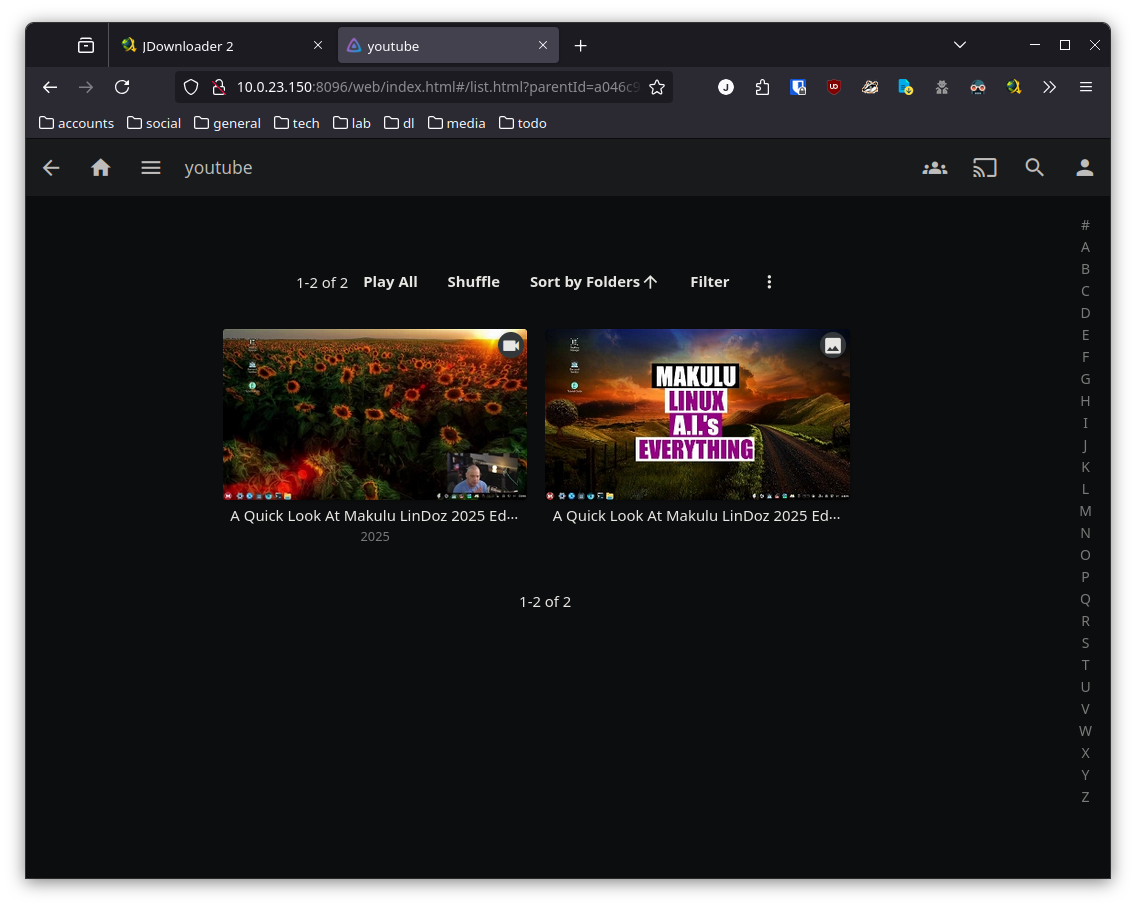
As you can see Jellyfin shows two entries for one video… but why is that?
Well, JDownloader not only downloads the video in question but also the thumbnail and subtitle files.
If you don’t like that you can delete these links in JDownloader so they don’t get downloaded.
Simply click the video in question and the playback begins.
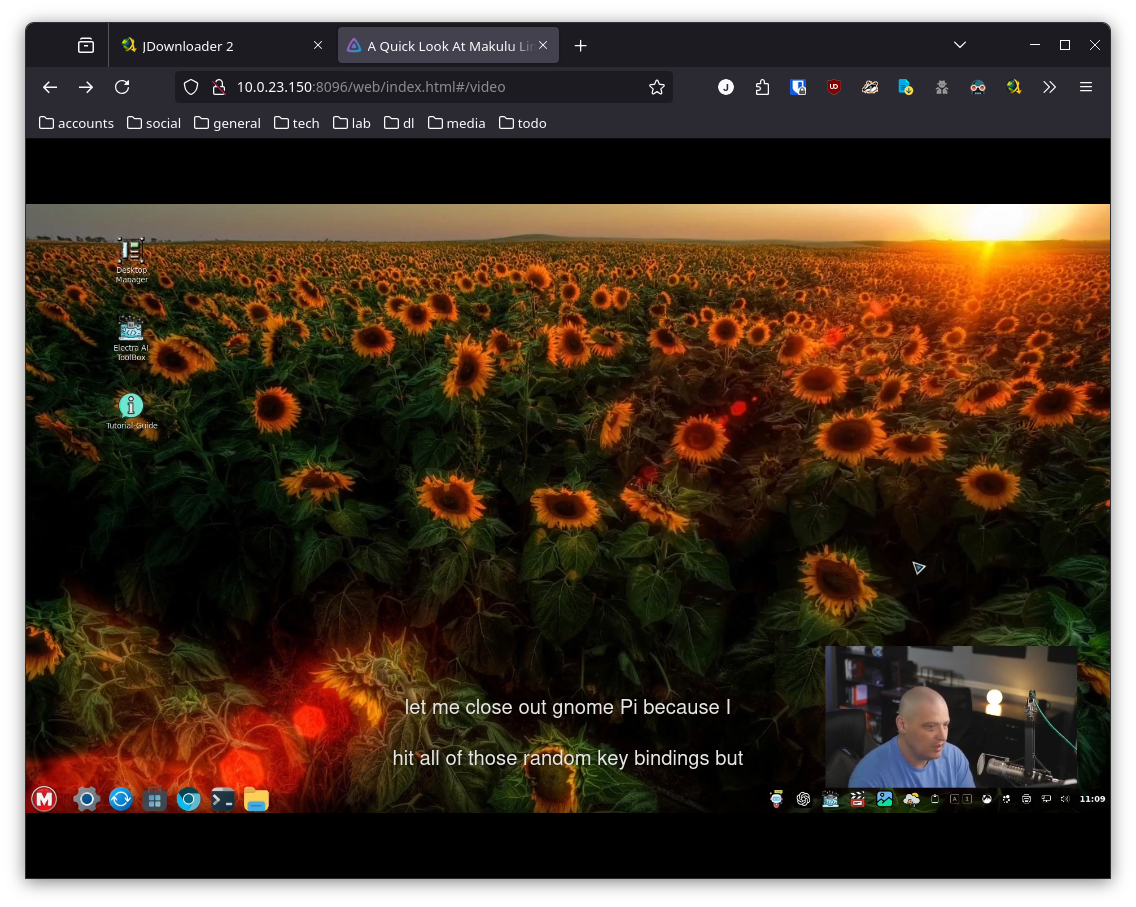
That’s it!
You now have a locally hosted media center which can play almost everything - whenever you like it to!
Going further
You could create a MyJD account (Totally free) and link your local running JD instance with it. That way you could leverage the JDownloader browser addon to add videos to your download list via a simply right click menu.
MyJD:
https://my.jdownloader.org/
JD extensions:
https://my.jdownloader.org/apps/?ref=myjd_web
It is up to you if you want that or not - I personally find it quite easy and quick to use JD that way.
All your downloads will automatically be picked up after a certain amount of time in Jellyfin.
This also makes it possible to get entire playlists for later watching or simply to download a larger video for later consumption.
Have fun with your new setup!
Last but not least…
Stay Open!
#Debian #Ubuntu #Youtube #Jdownloader #Media #Library #Jellyfin #Jd #Docker #Compose #Selfhosted